This tutorial assumes
- You have basic knowledge of getting up and running with Android.
- You have the Android SDK installed on your machine & configured with your IDE.
If not, the Android Developers Site is a great place to get started. Here you can get a very good idea of Google Play Services and how it works.
In this tutorial, we’ll see the basics of how to connect an Android app with Google Play Services. This tutorial is put together using several online sources that I referred to when learning Android, including the ever-useful Android Developers Site.
Create a bare-bones Android app
- Open Eclipse and use File > New > Android Application Project.
-
Enter details as below in the first dialog, and pass through the remaining dialogs with the default data to create the project.

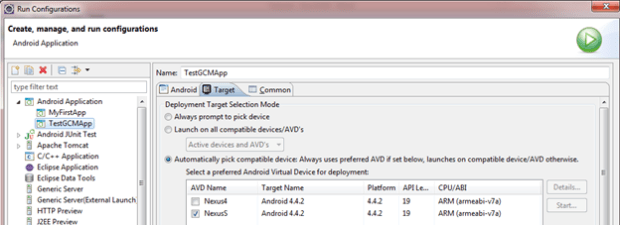
- Go to Run > Run Configurations and create a new Run Configuration.
-
Point it to the TestGCMApp project and setup the Target.

-
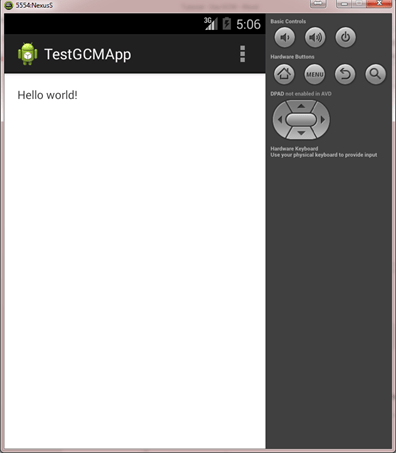
Click on Run. You can select the Android Console to track the run status & see any errors.

Step1: Setup Google Play Services
Generate a Google API Key
-
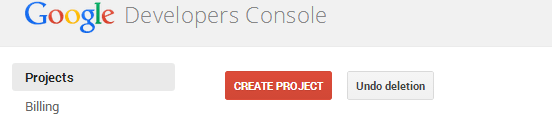
Go to Google Developers Console @ console.developers.google.com
-
Under Projects, click on Create Project.
-
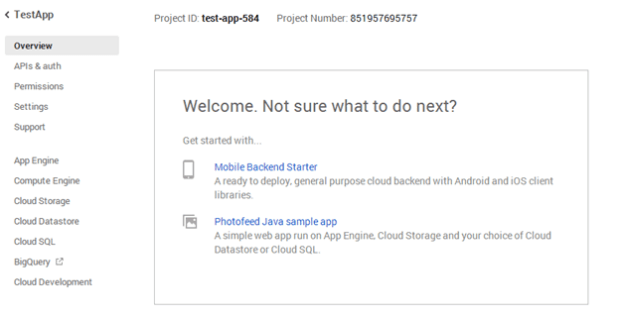
Enter a project name & Project ID (Project ID needs to be unique across the GCM universe, you can also just use the ID Google auto-generates for you)

-
Once the project is created, click on the project to enter it.
-
Click on APIs & auth to the left. Google turns some APIs on by default for you, but GCM is not one of them. Scroll down to find ‘Google Cloud Messaging for Android’ and turn it on.

-
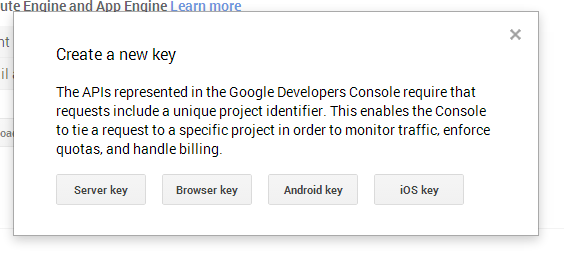
Once on, click on Credentials under APIs & auth on the left.

-
Click on Create New Key and choose Server Key
-
For now, don’t specify a server IP address (meaning any server can send API requests to your account). We can change this later using the ‘Edit allowed IPs’ link under the key display. Click Create.

-
Copy the API key and keep it safe. This can be regenerated or even deleted if it has been compromised.
Configure SDKs & AVDs for Google Play Services
- Open Eclipse > SDK Manager. Or if your Android SDK is not integrated within Eclipse, find and open your SDK Manager from Windows Explorer/Program shortcuts.
-
Go to Extras > Google Play Services and ensure its already installed. If not, go ahead and install it. Note: We are not installing the Google Play Services for Froyo option here because the test project we’re creating has a minimum SDK level of 4.0 (Ice Cream Sandwich).

-
Also install a compatible version of the Google APIs platform.

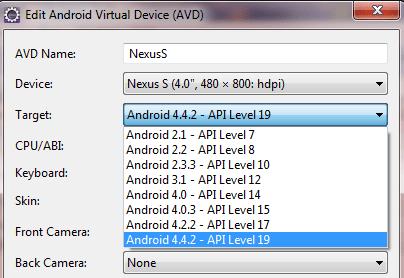
- Once installed, create a new AVD that uses the Google API system image you just downloaded. Update the project run configuration to use the new AVD. (As detailed in the test section above). Note: If the AVD manager does not show Google APIs in the target, as below, then you might need to re-start Eclipse & re-start AVD manager to see the changes.

Configure project to use Google Play Services
-
In Eclipse, click File > Import, select Android > Existing Android Code into Workspace, and browse to <android-sdk>/extras/google/google_play_services/libproject/google-play-services_lib/ to import the project into workspace. Keep the “Copy Project into Workspace” option checked.
-
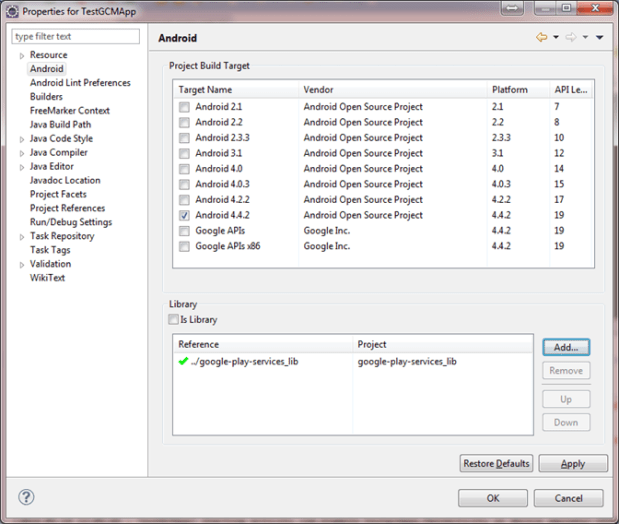
Select the TestGCMApp project in the Project Explorer, go to Project Properties > Android and add a reference to the google-play-services-lib project.
-
Open the project manifest file (AndroidManifest.xml) and add the following tag as a child of the <application> element:
<meta-data android:name=”com.google.android.gms.version” android:value=”@integer/google_play_services_version” />
Setup ProGuard exceptions
The ProGuard tool shrinks, optimizes, and obfuscates your code by removing unused code and renaming classes, fields, and methods with semantically obscure names. The result is a smaller sized .apk file that is more difficult to reverse engineer. Because ProGuard makes your application harder to reverse engineer, it is important that you use it when your application utilizes features that are sensitive to security. Having ProGuard run is completely optional, but highly recommended.
-
To turn ProGuard on, open the project.properties file and uncomment the proguard.config property.

-
To add exceptions to ProGuard (to prevent it from stripping away classes required by Google Play Services), open proguard-project.txt and add following lines:
-keep class * extends java.util.ListResourceBundle { protected Object[][] getContents(); } -keep public class com.google.android.gms.common.internal.safeparcel.SafeParcelable { public static final *** NULL; } -keepnames @com.google.android.gms.common.annotation.KeepName class * -keepclassmembernames class * { @com.google.android.gms.common.annotation.KeepName *; } -keepnames class * implements android.os.Parcelable { public static final ** CREATOR; }

Sample code that uses Google Play Services
Now we can run a test using Google Play Services to see if everything has been wired up fine.
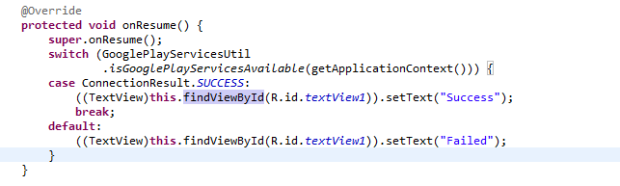
- Open MainActivity.java and override the onResume() method inherited from Activity.
- Import com.google.android.gms.common.GooglePlayServicesUtil.
-
Add some code to test for GooglePlayServices (Devices/emulators that have the GooglePlay APK installed will return “success” on this test. Below code checks for service availability and displays the result in a TextView.
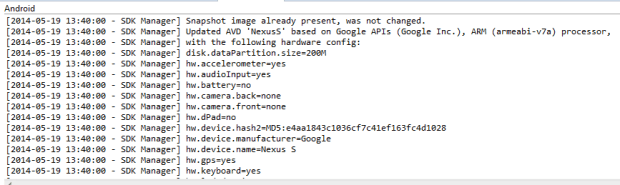
When running, you will see output on the console indicating that the emulator has been updated to use the Google APIs system image.
And once the emulator starts up the app, you will be able to see the emulator connect to Google Play Services.

Now you are ready to explore Google Play Services using their API library.
