Here is my requirement:

- I have regular servers running a bunch of enterprise apps sitting in a customer data center, BUT they do not have full access to the enterprise WAN (due to various management-level battles and project permissions).
- The servers have access to the Internet only via a regular home-use-type modem sitting next to the rack. So the team needs to use TeamViewer/VNC/LogMeIn to hook up with them.
Obviously, not ideal! Where I work, we can’t afford to get a broadband line with a static IP for the servers, which is what is needed to set up a proper VPN with a firewall. In the meantime, LogMeIn Hamachi is what I use to access my server apps straight from my workstation. Hamachi can be used to create a virtual private network (VPN) over the Internet. It installs an adapter on every member of the network, which lets it create a relay tunnel to push traffic from point-to-point. There is a limit of 5 members (where member refers to both clients + servers in this scenario) for the free Hamachi service, but that’s perfectly fine for me.
Here is how I set it up:
Create Network
- Go to https://secure.logmein.com/products/hamachi/download.aspx. The managed version is easier to use, you can create a free account and just log in.
-
Create a new network:


-
I used Hub-N-Spoke because it fitted my requirement the best.
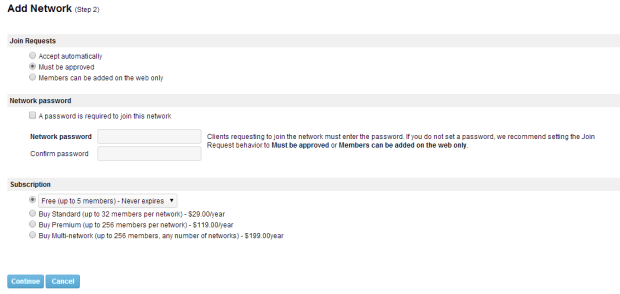
- Setup a network password if needed. I just use the “Must be approved” option, meaning all requests from new clients to connect to the network must be approved by me on the LogMeIn web UI.
- Follow through the steps till the Finish screen. Now the network is added.
Add Client
- Now click on Add Client > Install LogMeIn Hamachi on this computer.
-
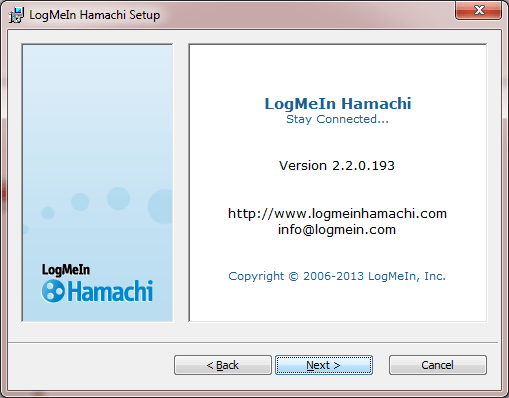
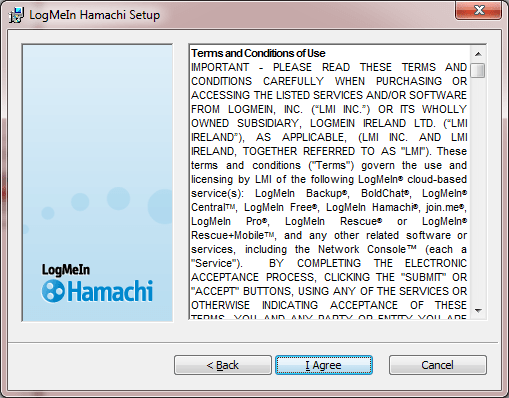
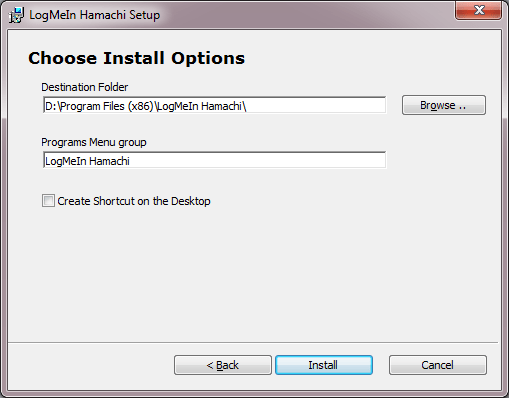
Install the client.


-
Now you can Join the network you just created. First on the LogMeIn website, go to My Networks and go into the Edit screen for the network you just created. That will show you the Network ID of that network.

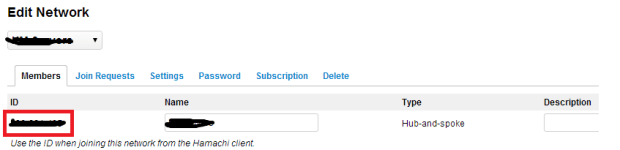
-
Go back to the Hamachi client and enter this network ID

-
Since we selected the “Must be approved” option for all new clients, this window pops-up. Click Yes.


-
Now on the web UI, go to the Join Requests screen and approve the request.
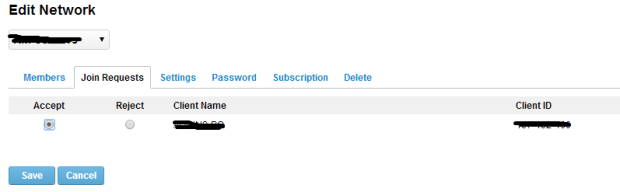
-
That’s it! Your PC has been added to your network.

Add Server
To add a server, follow the same steps you used for the client. The difference is: You can use the Unmanaged option for the download from the website instead of signing in and adding a client from within, since you already have a managed network created and can simply join the existing network using the network ID. It works the same way in both cases.
Try it out!
Right-click a machine listed under your network on the Hamachi client, and use the Ping command to confirm connectivity. You can see the virtual IP that Hamachi provides to your servers, and use that for accessing anything on that server: web apps, web services, Windows explorer, you name it. You could do the same thing to connect your home workstations to your office ones too, it all works the same.

very nice post, i certainly love this web site, keep on it ffebckaaadce
The above steps seems to be complicated for configuring VPN. Instead, I would recommend using a R-HUB remote support server for establishing remote connections between computers. It is very simple and easy to use and does not involve complex configuration.
Thanks for commenting! I found it to be quite a straight-forward process with almost no config; perhaps my post makes it seem complicated because I’ve mixed network admin steps (getting the allotted network ID & approving join requests) and client-side setup (installing the Hamachi client & sending a join request using the network ID) in a sequential order. I will try to re-jig the post to make it clearer.
Thanks for pointing me to R-HUB, it looks like its very suitable for my intended use except for one small thing – price 🙂 I needed something that would be free, even if for only a handful of client machines, and Hamachi does exactly that.